Just finished my lander .
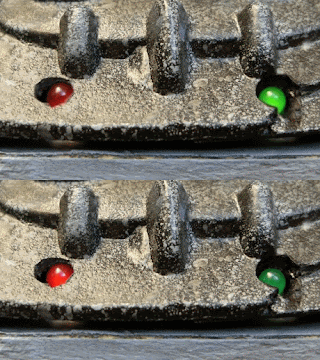
I took pics so you can see how it was finally put together. Managed to get hold of a flashing ( green / red ) LED circuit which I fitted. Actually this was the thing that took the most time to fit because I had to desolder a capacitor from the top and solder it again on the bottom as it was hitting the under side of the top part and thus cockpit wasn't closing properly. Then I had to find a way on how to switch it on a off and also be able to change the battery if need be. This was done by cutting a new part on the side which I painted as the flight crew escape hatch.
Didn't have enough GW titan arms so I scratchbuilt one from plastic sprue, looks like a field repair.
Since it is basically a card model I chose to cover it in printed pictures ( this are star wars floor plans found for free on the net) and then paint in details accordingly.As you can see the paper printouts are very effective so anyone one can build a decent vehicle. I also had to fit a magnet on the back door as it was opening easily.
One word of warning though , with hind sight I should have coated the area where I put decals with PVA as the film is showing. The dry trasfers on the other hand ( Snoopy etc ) came out great.
All in all it was a very satisfying build and not too difficult to do, I really wish you would be inspired enough to build one. As always if yours looks good on the table then it is good.
Enjoy
Z
 |
 |
| With Flash to show interior better. |


